

Fresh paint can make a room feel completely renewed, but the finish will only be as good as the surface beneath it. To prepare walls for painting properly, the work needs to start well before the first brush or roller comes out. Cleaning, repairing, sanding and priming may not be the most visible parts of a painting project, yet they are what allow the final colour to look even and last well.
This matters especially in Northern Rivers homes, where humidity, salt air near the coast and everyday wear can affect interior and exterior surfaces. A careful preparation process gives paint a clean, stable surface to bond to, rather than covering problems that will soon show through again.
Start with a proper assessment
Before moving furniture or choosing a paint colour, inspect each wall in good natural light. Look across the surface from different angles. This makes it easier to spot dents, nail holes, hairline cracks, peeling paint, water marks, mould and uneven previous repairs.
Not every imperfection needs the same treatment. A small picture-hook hole can be filled and sanded, while loose or flaking paint needs to be removed back to a sound edge. Water staining may point to an active leak, and paint should not be applied until the source of moisture has been fixed and the wall has fully dried.
For strata properties, rentals and commercial premises, this early assessment also helps identify practical requirements. Access, occupied areas, surface damage and worksite protection should be considered before work begins, not once painting is underway.
Check for moisture and mould
Mould is common in bathrooms, laundries, shaded rooms and coastal homes with limited airflow. Painting over it without treating the cause is rarely successful. The mould can return through the new coating, leaving staining and affecting the appearance of the room.
Clean affected areas with an appropriate mould treatment, following product directions and using suitable protective equipment. Improve ventilation where possible and allow the surface to dry completely. If there is widespread mould, recurring dampness or evidence of water ingress, it is worth resolving the underlying issue before proceeding.
Protect the room before you prepare walls for painting
Good preparation includes protecting the areas that are not being painted. Move furniture clear of the work zone where possible, or place it in the centre of the room and cover it properly. Use drop sheets to protect floors and tape to mask skirting boards, trim, switches and fittings where needed.
Remove wall hooks, loose fittings, faceplates and anything else that would create an awkward edge. Keeping these items in a labelled container avoids a frustrating search when the room is ready to be put back together.
Protection is not simply about keeping the room tidy. It gives the painter space to sand, patch and coat the wall evenly, including around corners and lower sections that are easy to rush.
Clean the surface thoroughly
Paint does not adhere well to dust, grease, smoke residue or household grime. Walls can look clean from a distance while still carrying enough residue to interfere with the coating.
For most interior walls, begin by dusting with a soft brush or vacuum attachment. Then wash the surface with a mild sugar soap solution or suitable wall cleaner. Kitchen walls often need extra attention around cooktops and benchtops, while living areas may have marks from hands, pets or furniture.
Rinse or wipe down as directed by the cleaning product and allow the wall to dry. Do not paint onto a damp surface. In humid weather, drying can take longer than expected, so allowing adequate time is part of getting the job right.
Exterior walls may require washing to remove chalky residue, salt, cobwebs, dirt and organic growth. Depending on the material and condition, this can involve hand washing or controlled pressure cleaning. Too much pressure can damage timber, force water into gaps or disturb fragile surfaces, so the method should suit the substrate.
Repair holes, cracks and damaged areas
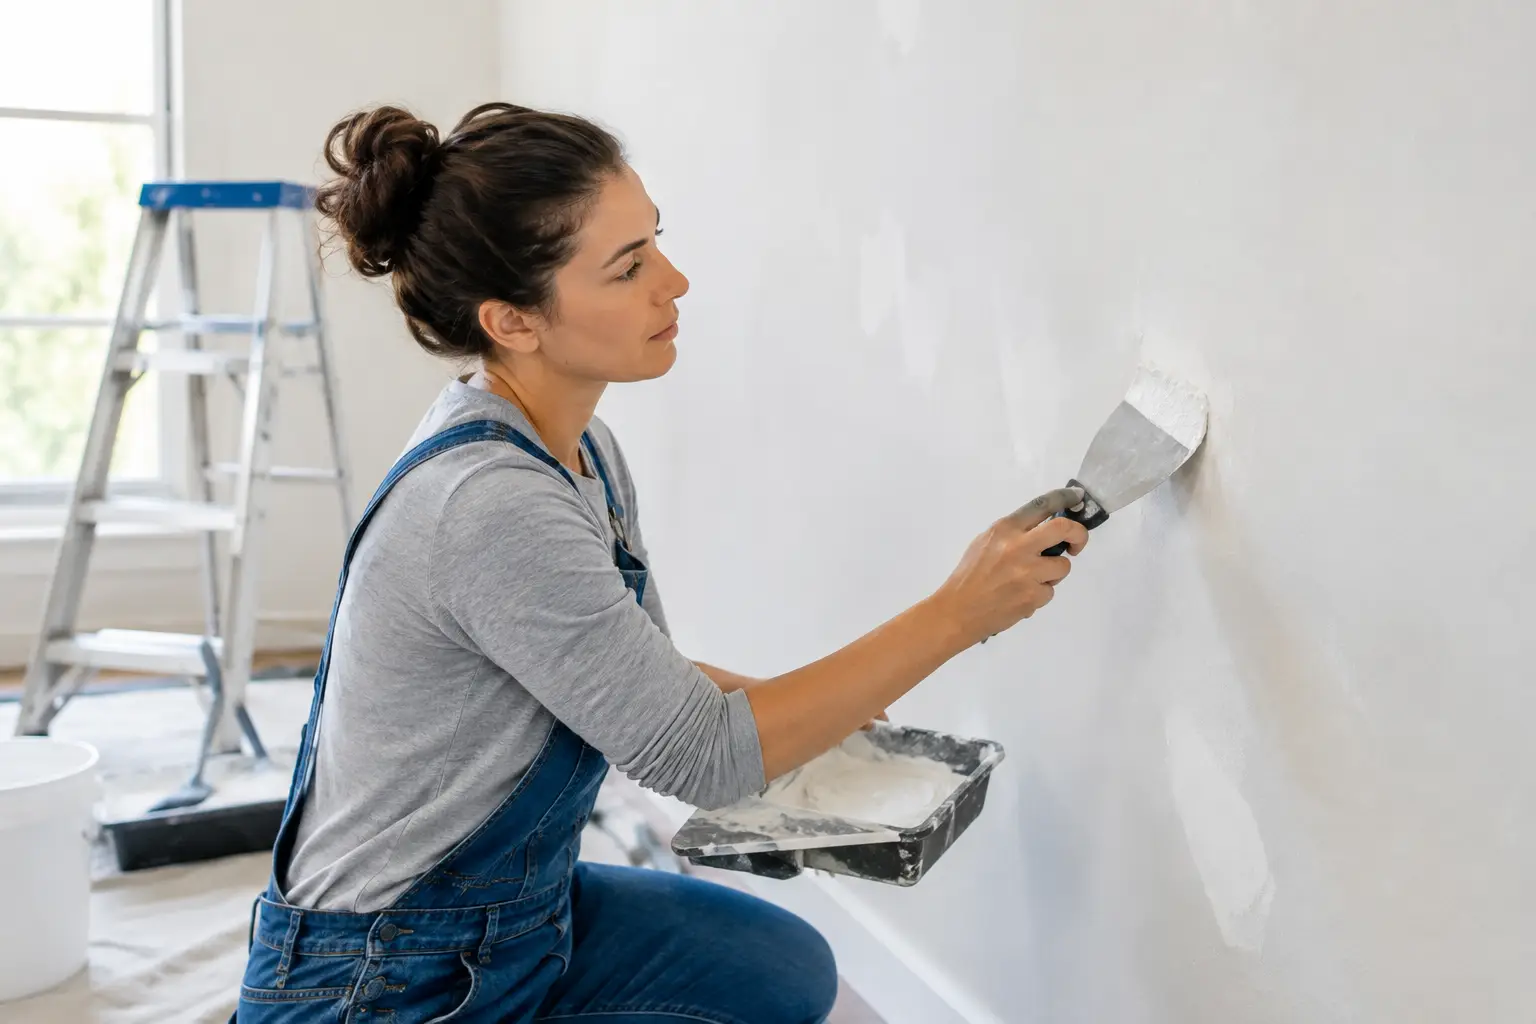
Once the wall is clean and dry, repairs can be made properly. Fill small holes, shallow dents and minor cracks with a quality filler suited to the surface. Apply it in thin, controlled layers rather than trying to overfill a deep hole in one pass. Larger repairs may shrink as they dry and need a second application.
Allow filler to dry fully before sanding. Drying times vary with the product, the depth of the repair and the weather. Trying to sand too early can pull the filler from the wall and create more work.
Hairline cracks deserve closer attention. Some are harmless movement cracks, while others may indicate ongoing movement or a failing joint. If a crack continues to open, appears around doors and windows, or is accompanied by other signs of movement, it should be assessed before painting. Paint can improve appearance, but it cannot correct a structural issue.
Deal with loose and peeling paint
Any paint that is peeling, bubbling or poorly bonded needs to come off. Scrape back loose material until reaching a firm edge, then feather that edge with sandpaper so it does not show through the new finish.
Bubbling paint may be caused by moisture, heat, poor adhesion or an incompatible coating underneath. The right repair depends on why it failed. Applying more paint over an unstable area may look acceptable for a short time, but the problem is likely to return.
Older properties require extra care. If existing coatings may contain lead, do not dry sand, scrape or create dust without taking appropriate precautions. Specialist advice and safe work practices are the sensible approach, particularly where children, residents or workers could be exposed.
Sand for a smooth, sound surface
Sanding is where careful preparation becomes visible in the final result. It smooths filled areas, removes rough edges and gives glossy or hard surfaces enough profile for the next coat to adhere.
Use a fine-grade sandpaper for most interior wall repairs and work gently around patched sections. The goal is to blend the repair into the surrounding wall, not create a hollow or expose unnecessary plasterboard paper. Run a hand over the area after sanding. A surface can look smooth but still reveal a raised edge when painted.
Glossy trims, previously painted doors and some exterior surfaces may need more thorough sanding or a suitable adhesion primer. The correct approach depends on the existing coating and the condition of the surface. This is one reason professional assessment is valuable when a property has several paint types, weathered timber or older finishes.
After sanding, remove all dust with a vacuum, soft brush or clean damp cloth. Dust left on the wall can leave a gritty finish and reduce paint adhesion.
Prime where the surface needs it
Primer is not always required across every sound, previously painted wall, but it is essential in several situations. Fresh plaster repairs, bare timber, exposed metal, stained areas and surfaces with major colour changes often need a suitable primer before topcoats are applied.
A stain-blocking primer can prevent water marks, nicotine staining or tannin bleed from showing through a new finish. For bare timber, the primer should be selected for the species and location, particularly outdoors where sun and moisture place greater demands on the coating system.
Using the right primer is not about adding an unnecessary step. It helps create a consistent surface, improves coverage and supports a more durable finish. On the other hand, using the wrong product can create adhesion problems, so it pays to match the primer to the wall and the planned topcoat.
Allow time between each stage
The most common preparation mistake is rushing. Filler needs to dry. Washed walls need to dry. Primer needs to cure as directed. Skipping these pauses can trap moisture, mark soft repairs or compromise the finish.
A well-prepared wall also makes painting more efficient. Rollers glide more evenly, brushwork looks cleaner and fewer extra coats are needed to cover patchy areas. The time invested before painting is usually repaid in the appearance and life of the completed work.
For homeowners, property managers and strata committees, the practical takeaway is simple: ask what preparation is included, not only what colour is being applied. North Coast Painting Services takes an unhurried approach because lasting workmanship starts with the surface. When the wall is clean, sound, dry and properly primed, the finished room has every chance to look cared for long after the paint has dried.